
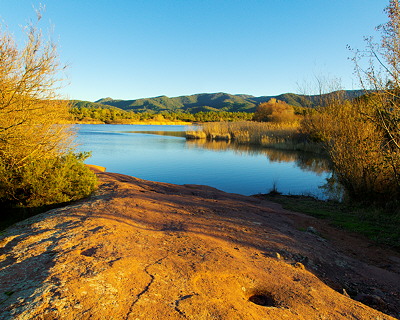
From version 7.7, PTGui supports exposure fusion. Exposure fusion is another method to create images from scenes with High Dynamic Range. As HDR photography, exposure fusion asks to take multiple exposures of the scene but with exposure fusion no HDR image is created and so there is no need for tone mapping. So it's more easy to produce images with a natural look.
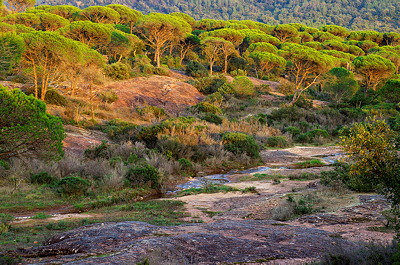
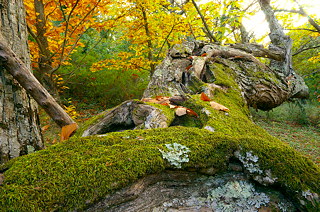
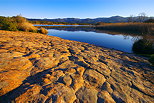
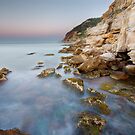
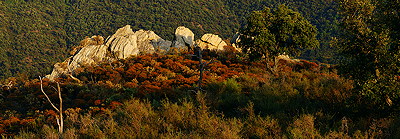
The image above was created from 3 vertical frames with 3 exposures for each.
The 9 corresponding raw files were first processed in SilkyPix and the resulting tif files stitched with PTGui Pro version 7.8.
PTGui automatically recognized the multiple exposures for each frames and made a beautiful work while blending them. Also when stitching but it's not too difficult with this kind of images.
I spent hours looking for blending/stitching errors in the resulting file but couldn't find one. Just amazing !
At the end, i just had tu use PictureWindow Pro to make some very little tweaks to this resulting file and produce the final image.
Some will say that this image is not a good example because one exposure for each frame could be enough. That's not false and i've also made the same work with only 1 exposure. But when shooting i had to slightly underexpose to keep all the details in the lighted rocks. At proccessing time when working on the shadows areas i wanted to open them a little bit. As they were corresponding to the very left part of the histogram the the result was not so rich in colors and details than in the multi exposure files...
In first conclusion i would say that PTGui can make a very beautful work with exposure fusion and can save many time with avoiding manual blending of exposures.
In the landscape context it can be a very good tool but remeber it can't make impossible things when some parts of the scene are moving (branches in the wind...)
In my day job context, i think it will save me a great time when working on interiors shots.
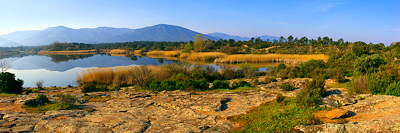
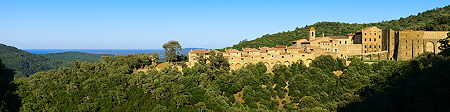
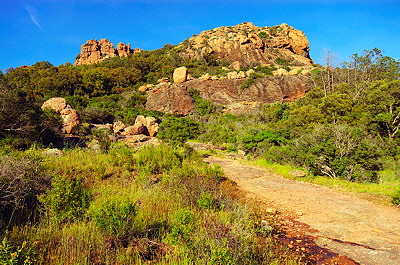
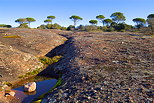
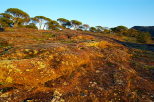
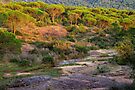
In second conclusion, i invite you to compare the image above with the one just under these words. It was taken at the same place just one year before. You can see that the bush's colors are not the same. It's not due to processing, it's just because this year we had some rain late in the springtime. It's less photogenic but it's really better for the forest and can protect her (little) from the fires.


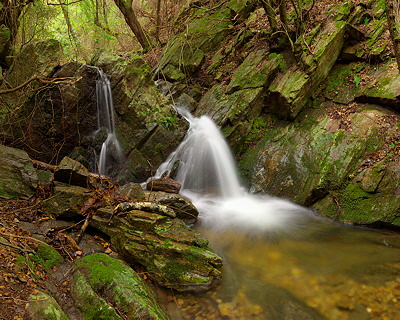 Provence waterfall
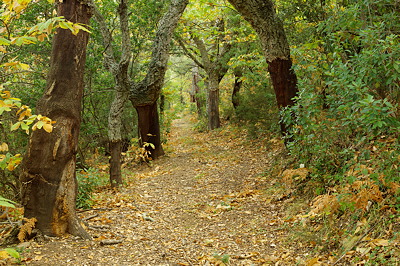 Provence forest